Get posts by email
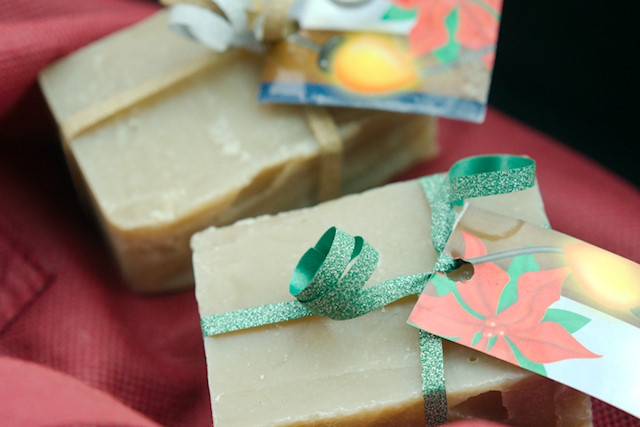
Kokum Butter Lotion Bar
January 19, 2017
Winter is my season for making soap, lotions, candles, and lip balm. This past November I started with a big batch of soap and some candles to get me through the first part of winter.
In December I made lotions and body butters. This month I'll make lip balm and more candles. Everything that gets made before Christmas is fair game for gift giving, and is part of the reason that late fall is such a great time to make these things.
It's a delight for me to create, use, and give these products and to keep my skin well moisturized during the dark, cold, and dry days of winter.
This year I've been experimenting again with lotion bars.
After some less than impressive results in past years I had largely dismissed lotion bars.
Most of the tutorials I'd found in previous years recommended using silicon molds. I don't have silicon molds. (Yes, I've been making skin care products for nearly a decade and I don't have silicon molds and still no desire to buy them either.)
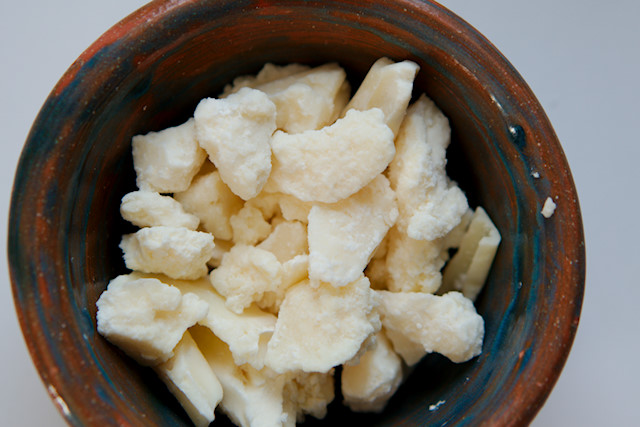
cocoa butter
One time I used my silicon muffin pan to make little discs of lotion. In other attempts I just poured the mix into a small tin or glass jars.
I was not impressed with the small disc molding method. I find these awkward to store and transport. I was not super impressed with the tin and glass jar option either. Scratching my nail across the surface to loosen the solidified bar I kept thinking "there must be a better way to mold and use a lotion bar".
Of course there is, and other minds greater than mine figured this out years ago but it's taken me a while to catch on.
Pouring the mixture into a dispensing tube (aka: a deodorant tube) was a game changer. Yes, it's more money to make the bar, because you have to buy the tube (less than $2). But you can also re-use an old (thoroughly cleaned) deodorant tube.
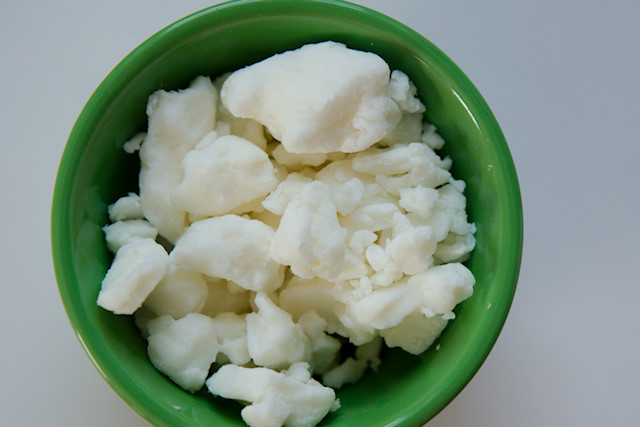
shea butter
I made two batches of lotion bars before Christmas, and in my usual fashion I adapted recipes I found online. And in my usual fashion, I learned from trial and error.
My second batch produced a very hard bar, too much beeswax, so I had to "recall" a gift from a friend (yes, I asked to have it back) so I could re-melt it, add more shea butter, then re-pour the whole lot. She's a good friend, I wasn't embarrassed. And I'm happy to report the re-melt produced a much softer bar better than the original recipe.
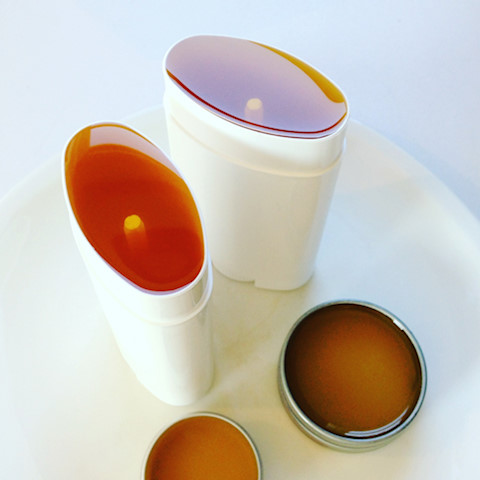
re-pouring the lotion bars
My third attempt this season at making a lotion bar has yielded the best results. In fact, I've been working on this recipe to make it as fail-safe as possible (not too hard, not to soft, but just right) so I could heartily recommend it to you.
Kokum Butter Lotion Bar
This recipe uses a new-to-me vegetable butter called Kokum. I got the inspiration from Frugally Sustainable. If you can't source Kokum you can use a mix of shea and cocoa butter. I tested both recipes, one with kokum and one with a shea/cocoa butter mix but I prefer the kokum. I find it less greasy which is a huge win for homemade lotion.

I use this bar on my hands primarily but I would also use this on dry patches of skin.
This recipes makes just enough to fill one 80 ml (2.65 fl oz) deodorant tube. I tweaked this specifically, so you wouldn't have leftovers that you had to pour into... little jars and tins. 80 ml is the standard size dispensing tube, is easiest to find, and is the cheapest, at least for me, to buy.
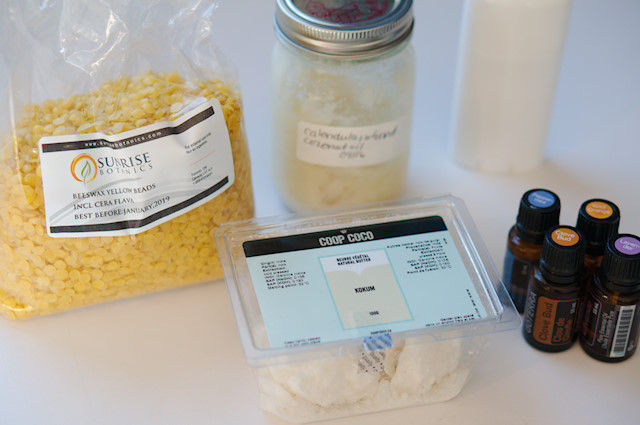
Ingredients:
- 12 gm beeswax
- 24 gm kokum butter, or 12 gm shea butter and 12 gm cocoa butter
- 36 gm coconut oil
- 5 drops each of peppermint, orange, clove, and lavender essential oils
You can use whatever essential oils you like but I find this particular combination to be an amazing fragrance.
I used a calendula-infused coconut oil for this lotion. I made a large batch in the fall and have been using it for all my lotions and lip balm making. Regular coconut oil is fine.
Directions:
- Over low heat melt the oils in a pot. Remove from heat.
- Add essential oils. Stir well.
- Pour into tube. (Make sure the base of the tube is twisted all the way to the bottom so the maximum space can be filled.)
I love the dispensing tube for a couple reasons:
-
There is no water in this recipe so you don't have to worry about microbial growth. But the lotion that is below the top of the dispenser is not exposed to any contaminants from your skin or the air. This reduced exposure means that the bar will stay fresh for a long time. (I don't know exactly how long but it will definitely last the season.)
-
The tube is very portable and clean to use. No greasy tins or jars or "how do I take this in my purse/backpack?"
Click here to download a printable version of this recipe → Kokum Butter Lotion Bar
Making lotion bars is one of the easier homemade body care products to make. It's way easier than making a liquid lotion, and you avoid all the preservative controversy and microbial risks. It's way easier than making soap. And I think it's even easier than making lip balm, which requires pouring into little tubes.

If I was new to making soap and body care products I think I'd start with lotion bars. The ingredients are relatively easy to source, the recipe and directions are a breeze, and it makes a great product.
My next post will be a review, along with a coupon code, from a Canadian supplier, Sunrise Botanics, for buying everything you need to make lotion bars and other soapmaking, cosmetic, and skincare products.
Also, if you want to learn to make soap this winter, registration for Hibernate is still open for a couple more days. We are already having a wonderful time in the retreat sharing our winter wellness plans, learning how to harvest and prepare chaga brews, making herbal cold remedies, and learning easy knitting patterns. And that's just the first four days!
Filed Under
Resource Library
You can subscribe to comments on this article using this form.
If you have already commented on this article, you do not need to do this, as you were automatically subscribed.


